Thanks, that works. But the strange thing I’ve found is that depending on what form the “sips” command is run in, I sometime need to reverse the numbers. In the Terminal 1008 and 756 work, in the above “do shell script” I had to reverse the numbers to 756 and 1008. Not a big issue as I have not yet settled on what format I’ll be using. Once I do, it will no longer be an issue.
Thanks, that would make things a whole lot easier, but seeing how my scripting skills are limited, how would the script below look with your additions?
do shell script "sips -z 1008 756 " & quoted form of "/Users/robert/Desktop/Email Images/" & "*.jpeg"
Here is how you might do the whole thing in applescript. Note that the scale command uses only the larger of the image’s dimensions. For a portrait-oriented image, that means the height will be set to 1008 pixels. The width will be set so as to keep the image’s proportions.
set depot to (path to desktop as text) & "Email Images:"

tell application "System Events"
	-- restrict to jpegs
	set folderImages to files of folder depot whose type identifier is "public.jpeg"

	repeat with eachImage in folderImages

		set nom to name of eachImage -- get source file name
		set ext to name extension of eachImage -- get extension
		set AppleScript's text item delimiters to "." & ext
		set basename to text item 1 of nom -- get base name (sans extension)
		set appendix to " after" -- to append on scaled images

		set oldPathName to path of eachImage
		set newPathName to (depot & basename & appendix & "." & ext)

		tell application "Image Events"
			launch

			set simg to open oldPathName -- open an image
			-- set mtXY to {value of metadata tag "pixelWidth" of simg, value of metadata tag "pixelHeight" of simg}
			--> {720, 960}

			scale simg to size 1008 -- scale so lengthiest side is 1008 pixels
			save simg in newPathName with icon -- save scaled file with appendix

		end tell
	end repeat
end tell
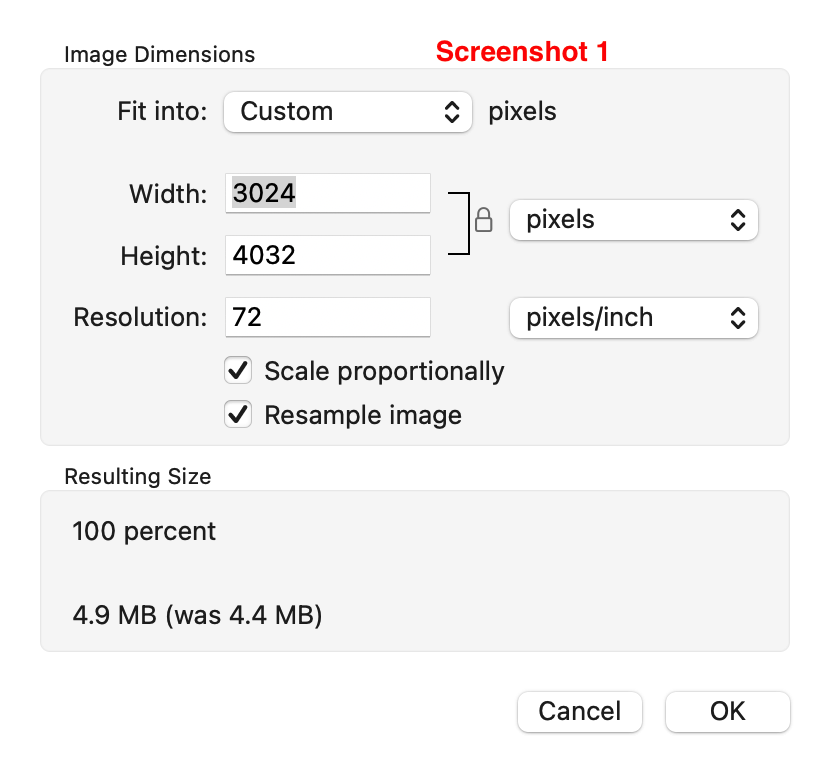
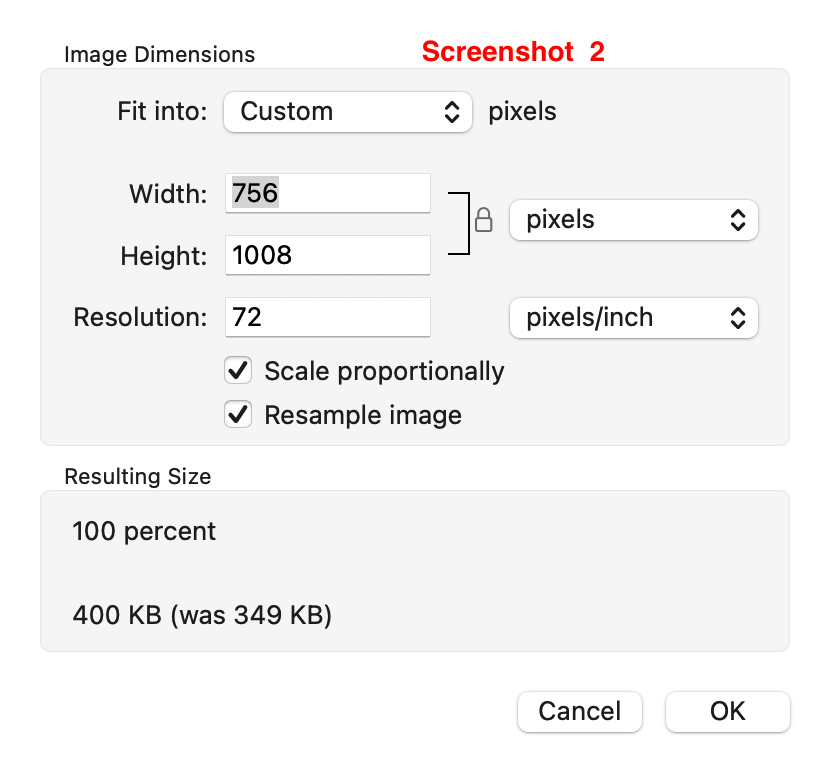
Tried your script this morning, but it didn’t seem to work. In the series of screenshots (Preview/Tools/Adjust Size) below, the first screenshot (Width is 3024, Height is 4032, File Size is 4.9 MB) is how the images start out. The second screenshot (Width is 756, Height is 1008, File Size is 400 KB) is after running the “do shell script” posted by peavine in post 21 above. The third screenshot (Width is 3024, Height is 4032, File Size is 4.9 MB) is after running your script, and it looks like nothing has changed.
I appreciate you posting the script, but I have a working solution and there’s no need for you to spend time trying to come up with an alternative.
Mockman. I tested your script, and it did not work reliably on my Sequoia computer. In limited testing, this issue was fixed by coercing the HFS paths to file objects:
set oldPathName to path of eachImage as «class furl»
set newPathName to (depot & basename & appendix & "." & ext) as «class furl»
I also noticed that the icon option significantly increased the size of the after file (e.g. 348 KB to 3.7 MB with my test file).
BTW, I absolutely agree with what you state above. Setting both height and width will often give the image a squished appearance. That’s why I wrote my shortcut in post 7 to use the longest edge option in the Resize action.
@Homer712 No obligations… just trying to put forth an alternative, especially since sips and image events are directly related. As well, others may happen upon this and try out what they see. Also, I ended up making a script and droplet for my own use, to simply convert png to jpeg, so the effort has been to my own benefit as well.
@peavine FWIW, I found that the script did something weird the first time I tried it with multiple images —shrinking one image to a quarter of what other similarly sized images were— but thereafter, it worked fine. I’ll try out the file url technique. I find image events a little quirky so anything that adds to reliability is helpful.
Regarding the icon issue… my mistake. I was just testing the option and apparently forgot to remove it. I will say, that’s a pretty big icon you’ve got there. Meanwhile, I’m still operating on Sierra so I tend to overlook the shortcut solutions.
Now, that caught my interest. I’m looking to go from .jpg to .jpeg (and I know it can be done in Preview), but a “droplet” would be much more convenient.
Also, just noticed something after using peavine’s “do shell script” in post 21. The script doesn’t care if the images are in portrait or landscape, it seems to automatically transpose the height and width numbers, so that the final product remains in whatever state it started out in, but has been converted to a much smaller file size.
Homer712. It doesn’t work that way for me. My test photo had a pixel width of 4080 and a pixel height of 3072. The script squished the image to have a pixel width of 756 and a pixel height of 1008. Obviously, this looked terrible.
The following script maintains the correct aspect ratio. With the test photo, the resized pixel width was 1008 and the pixel height was 756. This is the way my shortcut in post 7 and Mockman’s AppleScript work. It’s important to note that this script overwrites existing files in the target folder. Do not use this script on the original photos.
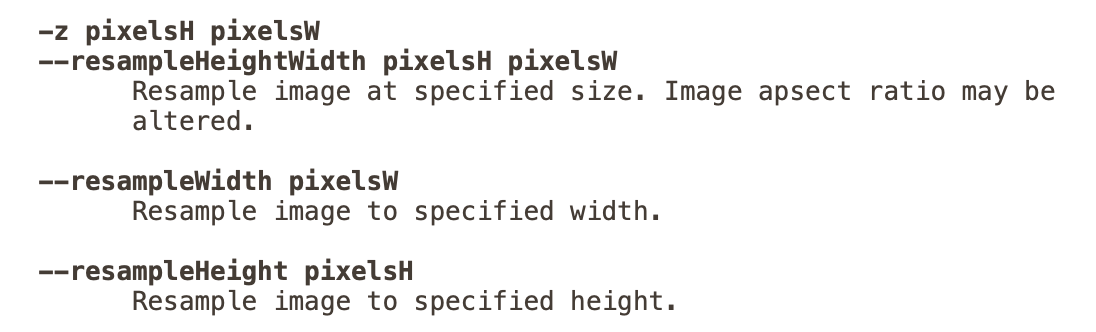
--the -Z function resamples an image so height and width aren’t greater than the specified size

do shell script "sips -Z 1008 " & quoted form of "/Users/robert/Desktop/Email Images/" & "*.jpeg"
It’s possible that the Orientation metadata value also affects the way the image is processed. The value may affect the way images are displayed and processed by various apps and tools.
For example, you may see the image as landscape due to its Orientation flag, while its formal width and height values are in fact in reverse to what you believe. And vice versa. Which also depends on the way this particular tool honors the Orientation value.
Preserving the proper landscape/portrait orientation while processing images can be a complex rabit hole, which may or may not require to consider the aforementioned Orentation metadata.
Over the years I’ve seen my share of strange things happen, so this is my thought. Your script has: “sips -z 1008 756” & quoted form, while I reversed those numbers to:"sips -z 756 1008 " & quoted form. Possibly, if you reverse the two numbers, it would work as mine does. Weird, but worth a try.
Edit: OK, you can let go of that possibility. Just as an exercise I reversed the two numbers in the script, and they still all came out perfectly. So, it could be something along the lines of what leo_r said below.
I posted that comment in post above, but that was before I understood that .jpg and .jpeg were exactly the same format.
“The only difference between the two file formats is that one comes with one less letter than the other. The JPG file format definition was designed in a time when file types could only have a 3-letter extension. However, JPG has always technically been JPEG, and vice versa.”
So, I came up with a simple script that changes the file extension.
property pathList : {}
property fromExtension : "JPG" -- set here the "from" extension
property toExtension : "jpeg" -- set here the "to" extension
property processSubfolders : false -- set to true to process subfolders as well

set aFolders to choose folder with multiple selections allowed
repeat with aFolder in aFolders
	tell application "System Events" to set end of pathList to POSIX path of aFolder
	if processSubfolders then my get_All_Folders_of_Folder(aFolder)
end repeat

repeat with folderPath in pathList
	set folderPath to quoted form of folderPath
	try -- requred to avoid processing empty lists in the "for file in" repeat loop
		do shell script "cd " & folderPath & "; for file in *." & fromExtension & "; do mv $file `echo $file | sed 's/\\(.*\\.\\)" & fromExtension & "/\\1" & toExtension & "/'` ; done"
	end try
end repeat
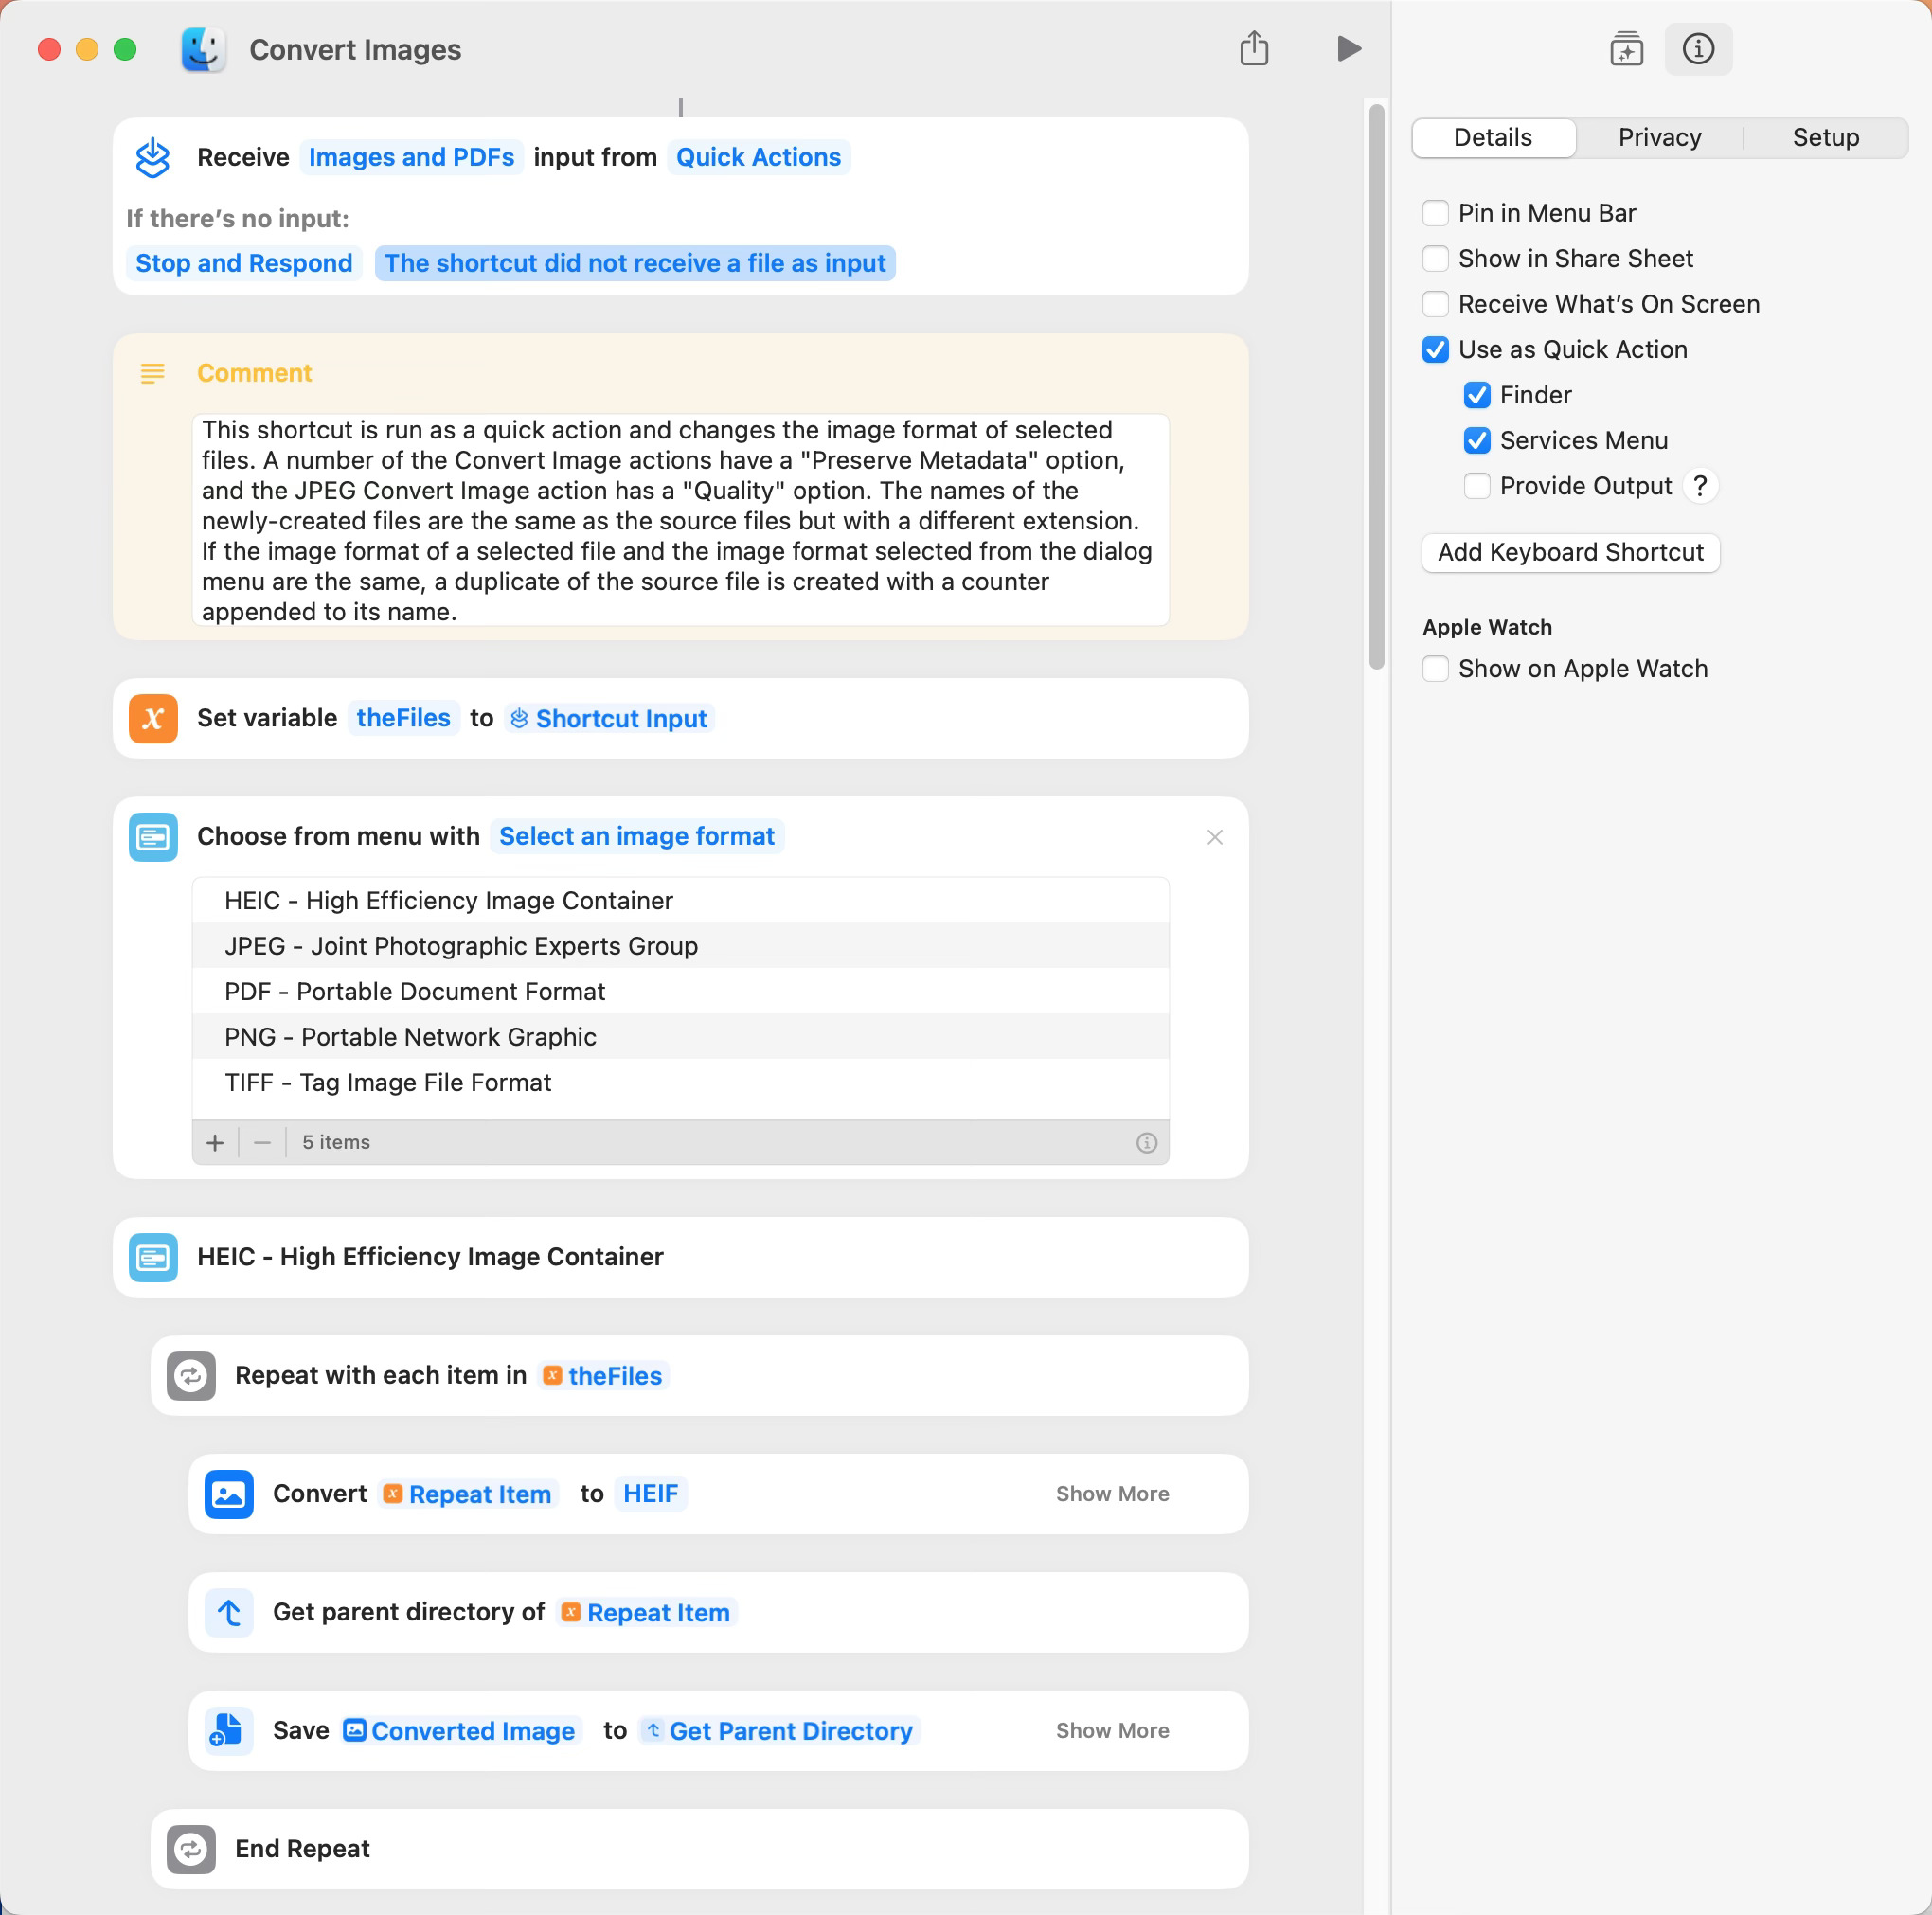
The quick-action shortcut included below converts the format of selected files to a format specified by the user. I prefer this shortcut to alternatives included with macOS, because the shortcut will work with files and formats (e.g. PDF and TXT)) that the macOS alternatives will not. The following screenshot only shows a portion of the shortcut.
For some reason, the checkmark is removed from Finder (see screenshot) when this shortcut is exported. This checkmark will have to be reinstated for the shortcut to be seen as a Quick Action in the Finder right-click menu.